Sunday 11 October 2015

Kuala Kangsar, Perak - Labu sayong

Labu Sayong


Perak memang terkenal dengan industri labu sayung iaitu tembikar yang di buat menggunakan tanah liat. segala process pembuatan labu sayong di Kuala Kangsar ini masih menggunakan cara tradisional. Labu sayong ialah sejenis bekas tembikar bernama labu berwarna hitam yang merupakan produk perusahaan dari Kampung Kepala Bendang, dalam Mukim Sayong, iaitu sebuah desa yang terletak 1 kilometer dari Kuala Kangsar, Negeri Perak. Dari kampung inilah perusahaan ini berasal kerana sumber bahan mentah iaitu tanah liat khas diperoleh dari kampung tersebut.
Lanjutan daripada ini, perusahaan membuat labu sayong telah berkembang di kalangan waris asal pembuat tembikar ini ke sekitar perkampungan dalam daerah Kuala Kangsar.

Bekas menyimpan air yang dihasilkan daripada tanah liat ini dibentuk dan diukir dengan teliti. Motif ukirannya banyak menjurus kepada unsur tradisional, khususnya bunga-bungaan seperti bunga tanjung, padi, senduduk, lawang, cengkih dan pucuk rebung.


Teknik pembuatan labu sayong

Perusahaan membuat Labu Sayong tergolong dalam pembuatan seramik. Peredaran zaman, telah merevolusi kaedah pembuatannya daripada tradisional kepada moden.

Pembuatan tradisional

Pembuatan moden :
  • Throwing / Teknik lemparan alin
  • Teknik acuan
  • Teknik sepuh

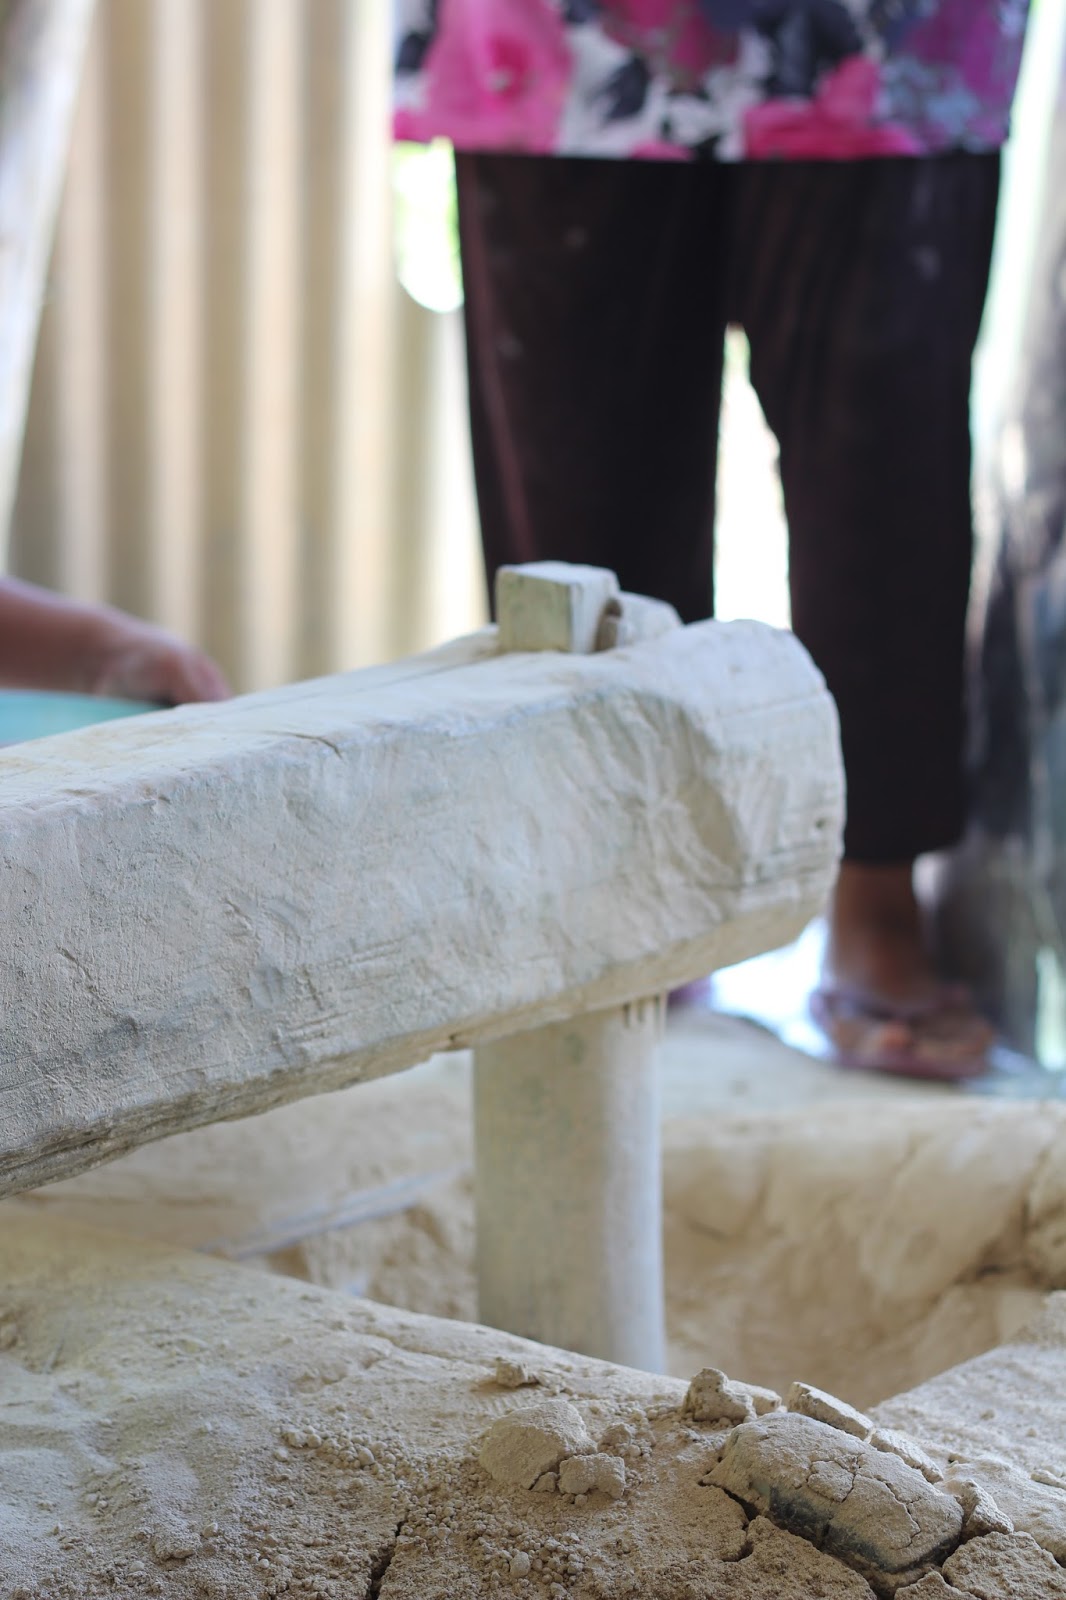
Sedikit gambar process pembuatan:


Process Pembakaran

semua labu sayong yg sudah siap dibentuk akan di masak atau dibakar. process pembakaran labu ini mengunakan dapur khas, atau ketuhar yang dihidupkan menggukan kayu api.


setelah siap dibakar, ada juga yg diletakan warna menggunakan sekam padi. labu tersebut akan betukar menjadi hitam. Ia bukanlah diwarnakan menggunakan cat, atau dibakar sehingga hangus. cukup dengan menimbus atau menanam labu yang telah masak selama sehari.


selain itu terdapat juga beberapa alatan tradisional yg digunakan di kilang labu ini. hal ini menyebabkan nilai kesenian dan aspek tradisional masih dikekalkan demi mendapatkan kualiti yang asli.


Kebanyakkan lokasi perusahaan ini turut menawarkan pakej lawatan sambil belajar kepada pelbagai agensi, sekolah, IPT, dan dokumentari.


Creating a Character using Papper Clay

MODEL MAKING : MOOKEY


EXPERIENCE AND CHALLENGES.

I’ve spent about 3 to 4 weeks to finish this model. This is the time ever I'm doing a 3D model. This also my first time working with clay. Modelling with clay is not easy as I imagine. I have many difficult especially in part to detail the model.

Firstly, I do research and tutorial how to make 3D model. Mostly I found the tutorial on Youtube site. I also get an idea how to do learn a bit about the step during classes. Other than that I also learn from senior and classmate who a have experience with modelling.

After that, I list down all the material need and buy all the stuff. For example item that I’m going to use paper clay, board, Acrylic paint and etc. To buys all the item is quite hard because of budgets, and not all stationery got specific art tool for example brush and clay. Lucky we are in KL, There are lots of art shop nearby.

There are many factor that make my model slowly and late to finish because of my model is bigger and fat than the other. I have to put more attention and effort to finish up the model. Other than that, I also have lots of project in other subject to finish. so, I got to divide my time perfectly.

But Alhamdulillah, I managed to get my model done within the time given.


ITEM USED


PAPER CLAY, ARCRYLIC, SCULPTING TOOL, WOODEN BOARD, MASKING TAPE


Item that i got with no cost

OLD NEWS PAPER, PAINTING TOOL (BRUSH), SCISSORS.


PROCESS

CREATING THE SHAPE

First of all, I start it with using a old news paper, I crumpled the paper to a sphere in shapes.


After that I tape it with masking tape
.


I spent almost 1 day to finish make shape of the model because it large in size, lot of paper use and hard to maintain the shape.


PROCESS

CLAY

After tape and build the suitable shape, I put the paper clay to cover the paper. I put the outer layer first. It was the first layer of the clay, just to cover the paper and left it to dry it out.

I spent about a day to put the first layer. A day that i mention is almost 16 hours and it need almost one night to dry it out


After all the paper clay dry out, I put the second layer. It just same as the first layer about 12 to 16 hour. but the second layer took longer time than the first because include the detail process.
As usual, it take hold night to dry the clay.


PROCESS

COLOURING

For colouring I'm using 4 different colour that is Grey and white for the base, black and blue for the eyes and detailing. I also put some red to mouth and a green for the board for presenting.


I colour the head first because it easy to handle it. As we know, 'Mookey' got a pair of long ears. so, I can give lot of attention if I'm do it  separately.

the next day, I continue with the body and left it to dry for 1 night.


PROCESS

FINAL DETAIL


Make a cute eyes for mookey


Not  forget  to give mookey a smile.


Decorate base for mookey stand while presenting.


colour the base in green to feels like a grass field


DONE

After struggling for about 3 to 4 weeks, I Finally success to complete the task to create 3D model.